How to Set Up User Roles with the Members Plugin for Chat Monetization
Chat monetization can be implemented by setting up chat access based on user roles. The Members plugin is a useful tool for managing user roles and permissions on a WordPress site. In this guide, we will show you how to use the Members plugin to set up user roles for chat monetization.
How to set it up:
Step 1: Install and Activate the Members Plugin
The first step is to install and activate the Members plugin from the WordPress repository. Members
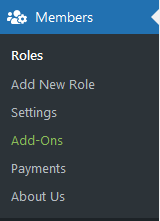
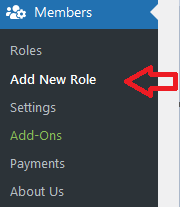
Step 2: Add New User Roles
In the Members plugin settings, you can add new user roles according to your requirements.
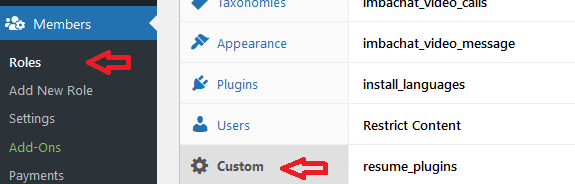
Step 3: Assign Permissions to User Roles
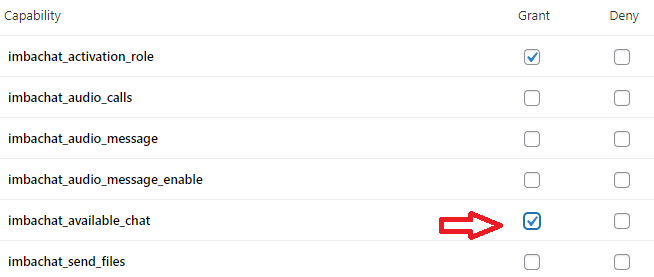
After creating new user roles, you need to assign permissions to them. You can choose from a list of available permissions and enable or disable them for each user role.
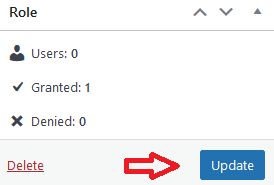
Step 4: Update User Roles
Once you have assigned permissions to a user role, you can update the role by clicking the update button.
Available Permissions for Imbachat Plugin
For the Imbachat plugin, there are several permissions available that can be assigned to user roles. These include:
- imbachat_activation_role: Activate the role in the Imbachat plugin (must be selected).
- imbachat_available_chat: Make the chat available.
- imbachat_send_message: Allows users to send messages.
- imbachat_send_files: Allows users to send files.
- imbachat_send_geo: Allows users to send geolocation.
- imbachat_audio_calls: Allows users to start audio calls.
- imbachat_video_calls: Allows users to start video calls.
- imbachat_audio_message: Allows users to send audio messages.
- imbachat_video_message: Allows users to send video messages.
Setting up Chat Display for Guests
To set up the chat display for guests, you need to create a "guest" role and enable the "imbachat_available_chat" permission to display the chat for guests. Alternatively, you can disable the "imbachat_available_chat" permission to hide the chat.
Using Shortcodes for Paid Roles
To create paid roles that have access to certain chat functions, you can use the [ic_change_role role="newrole"] shortcode to change the current role to the new role being installed. For example, if you need to set up a private role, the shortcode will be [ic_change_role role="private"]. Note that it is not possible to change the administrator role to any other using the Members plugin.
By following these steps, you can set up user roles with the Members plugin for chat monetization and manage chat access based on user roles and permissions.
-
adminnat 4 years agoIt is really a very detailed description of the process. I do not think there can be any problem, even for the beginner. Thanks!
-
Valeria 3 years agoThanks to this article, I now understand how to set up roles between my users on the site. I think this is really the best wordpress chat plugin! Big thx
-
Виталий 3 years agoI used the User Role Editor plugin on my website, and it proved to be a very useful tool for managing user roles. It has a simple and intuitive interface, making it easy to configure and modify user roles. I also appreciated its flexibility - I could create custom user roles and assign them various access permissions. This plugin greatly streamlined the website administration process and allowed me to easily manage user permissions. Highly recommended
-
Jack 3 years agoI used the User Role Editor plugin on my website, and it proved to be a very useful tool for managing user roles. It has a simple and intuitive interface, making it easy to configure and modify user roles. Additionally, I appreciated its flexibility - I was able to create custom user roles and assign them different access permissions. This plugin greatly streamlined the website administration process and allowed me to easily manage user permissions and access control. Highly recommended!


